
If you have an art collection, you will want to keep each piece of artwork in perfect and pristine condition. This can be tricky during a move, since the artwork tends to be very delicate and easily breakable. Accidents could happen if you aren’t careful enough when you pack the artwork for moving. From permanent scratches to visible stains, you want to avoid these irreparable damages done to your premium art pieces.
During a move, every piece of artwork should be treated with the utmost care and attention. Professional movers are the experts in transporting delicate items like artwork, so you can wholeheartedly trust that they will handle your art pieces with great caution. Nevertheless, you should enforce an extra layer of protection by packing the artwork properly.
The following six best practices will teach you how to pack artwork for moving. These techniques will ensure your artwork is safely packed and arrives at the destination in perfect condition.
1. Pick the right moving boxes for the artwork.
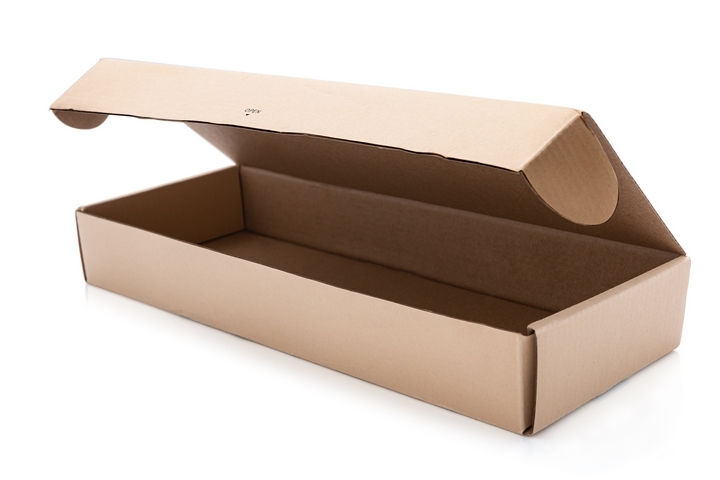
There are two important rules to pack artwork for moving. The first rule is to pick suitable moving boxes for transporting your artwork. Since the art pieces may come in various shapes and sizes, you will need different types of moving boxes. Most of your paintings, prints and statues can be packed in a mirror box or an artwork box. For larger and heavier items, you may need a wooden crate instead.
The second rule is to ensure that each art piece is fully secured within the moving box. You can accomplish this by providing adequate padding for the boxes. Keep in mind that it’s always better to err on the side of caution and end up with too much packaging, rather than risk not having enough supplies.
2. A flat picture box can keep framed artwork secure.
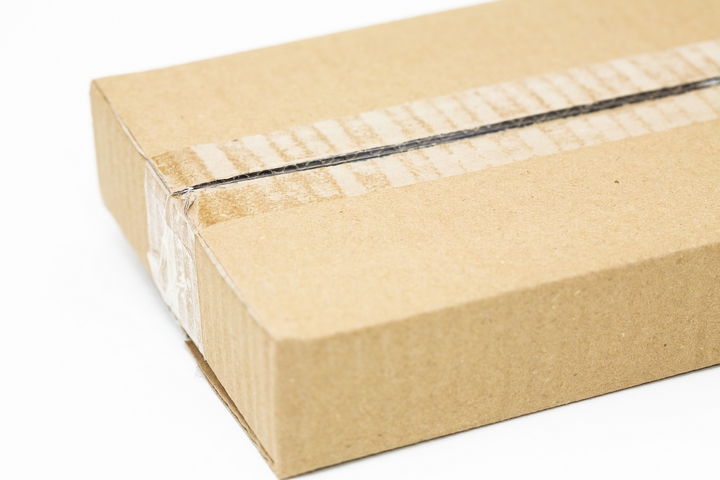
When it comes to transporting framed artwork, a flat picture box is an excellent option to keep the paintings and prints secure. Ideally, you will want a flat picture box that is just slightly larger in size than the piece of art. If the box is much larger, you can add extra padding on each side to ensure the picture doesn’t bounce around during the move.
3. Use plastic wrap to secure the artwork.
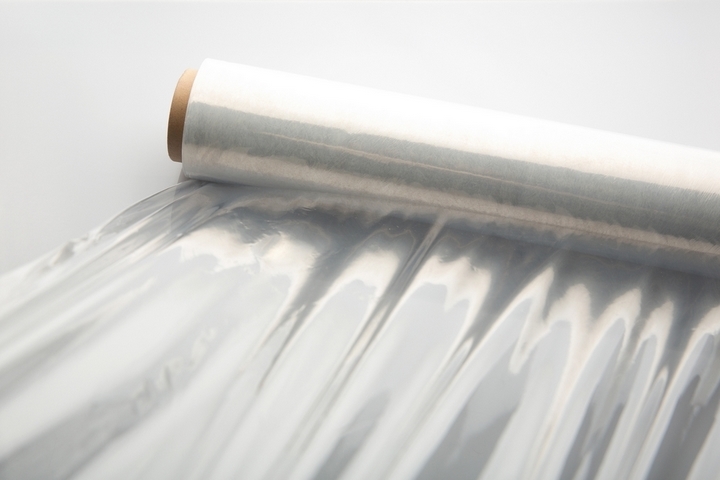
Before you put the artwork into the moving box, it probably needs another layer of protection. If the art piece does not contain a glass cover, the surface may be vulnerable to scratches and accidental damages. To avoid this, apply several layers of standard plastic wrap around the picture. Once this is wrapped, it will minimize the amount of inadvertent damage caused by friction during the move.
4. Use bubble wrap and cardboard corners to protect the artwork.
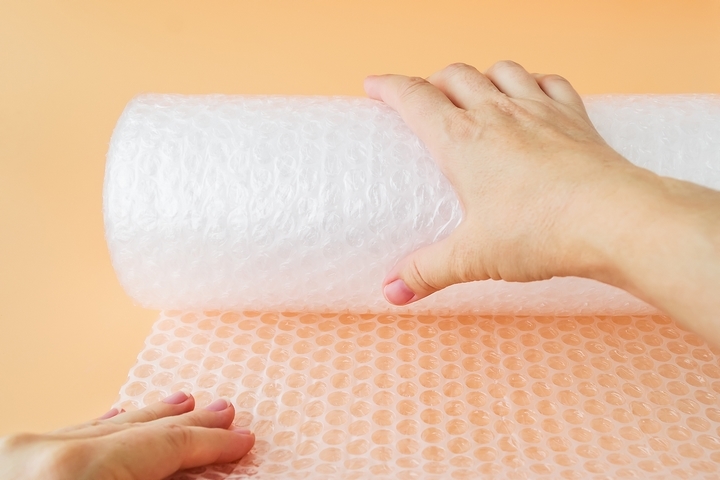
Bubble wrap is a useful packing material that can protect your artwork. Be generous and use several layers of bubble wrap around the picture, covering both the horizontal and vertical dimensions. Make sure you secure the bubble wrap in place with tape.
If the painting frame is valuable or highly ornate, you can attach cardboard corner protectors to provide added protection. These protectors are robust and specially designed to strengthen the fragile corners of your artwork.
5. Seal and label the moving box.
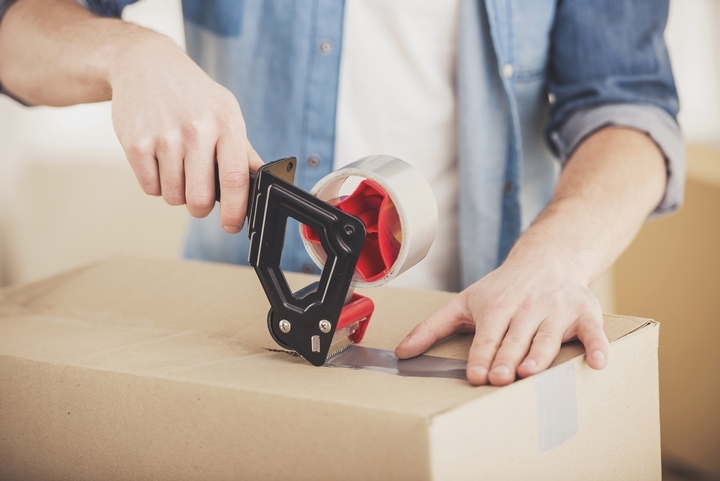
Once the artwork is fully secure, it’s time to put the painting inside the box. Start by placing wadded newsprint on the bottom of your box. Next, you can slowly insert the artwork into the box, being careful not to damage the surface or the sides. Afterwards, test it a few times by gently moving the box back and forth. If you sense any shifting, you should add more padding until everything stays in place.
When you are confident the artwork is secure, seal the box firmly with tape. You should also label each box, which lets the professional movers know to take extra care of your artwork.
6. Packing and moving sculptures requires extra protection.
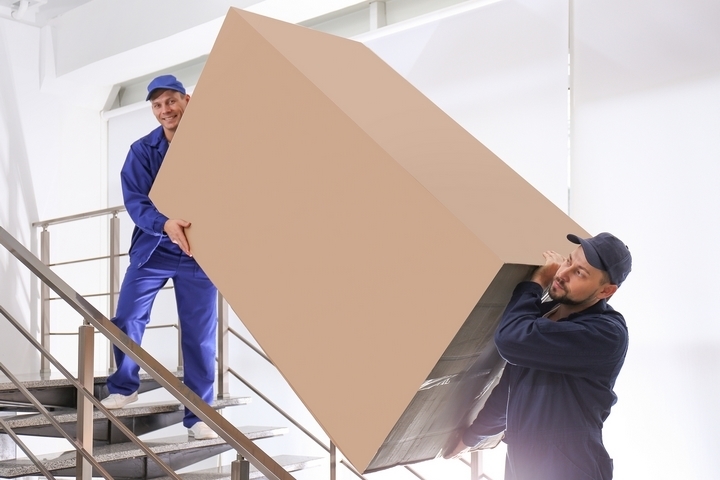
Sculptures are typically more delicate than framed paintings, so packing and moving them will require extra attention. First, you need to cover the sculpture in cling wrap to protect the finish. Don’t skimp on protecting any of the little nooks and crannies, since this will serve as the primary foundation of the support.
Next, you can use the bubble wrap around the particularly vulnerable parts of the sculpture. Finally, add one more layer of bubble wrap to cover the entire sculpture. You should end up with a sphere shape that can be placed inside the box. Fill the box with additional padding, seal it shut, and label accordingly.
